Thursday, February 28, 2013

CAMP - Console Ansi Mpeg3 Player


PLEASE NOTE: An official update of CAMP as of April 20 2013 is available here.


CAMP 1.5.3489 Console ANSI Mpeg3 Player (Rawlock skin).

Years ago I came across a really nice front end for mpg123 called CAMP by Sector7's inm. I fell in love with it at first sight. Why, well because I love ANSI art! So recently when I started drifting towards creating a console only GNU/Linux system I had this little gem in the back of my head.


CAMP File selector (Rawlock skin).

CAMP Description editor (Rawlock skin).

CAMP Forked to background.


 I had to think hard (google) to actually remember the name of the app but luckily enough the website was (and is) still alive. Sadly the last update was in 2002. But hey! Maybe it didn't need more coding?

Or did it? Compilation gave me heaps of errors. Errors I first regarded as something way above my level of competence. Here's a few lines:

fork.c:120: error: too few arguments to function ‘exit’

fork.c: In function ‘stealback’:
fork.c:137: warning: incompatible implicit declaration of built-in function ‘exit’
fork.c:137: error: too few arguments to function ‘exit’
fork.c:146: warning: incompatible implicit declaration of built-in function ‘exit’
fork.c:150: warning: incompatible implicit declaration of built-in function ‘exit’
fork.c:188: warning: incompatible implicit declaration of built-in function ‘exit’
fork.c:188: error: too few arguments to function ‘exit’


I started out by mailing the author but as of now I've still haven't heard from him or her. Then again I'm not really expecting someone to jump at troubleshooting their eleven year old code as soon as random idiot from the internet e-mails them about it. So I turned my questions to the mighty google instead.

I quickly learned that the errors were quite easily remedied:
error: too few arguments to function ‘exit’
All the instances of exit() in fork.c needed to be replaced with exit(0).

warning: incompatible implicit declaration of built-in function ‘exit’
Add #include <stdlib.h> to the top of fork.c

After this the code will compile but still generates heaps of warnings. I've compiled a list of errors and remedies if you want a warning free compile, or you could just download my pre-fixed package further down.

How to download, make and install CAMP:

0 Install the dependencies
$ sudo apt-get install zlib1g-dev mpg123
Note: First time I tried to compile CAMP on my Debian box I never had any issues with dependencies. Well except mpg123 since that is what CAMP is a front end for. If you do find any missing deps please comment and I'll add them to the list above. 

1a. Get the latest code :
$ wget -c http://sector7.nu/camp/camp-1.5.3589.tar.gz

PLEASE NOTE:  An official update of CAMP as of April 20 2013 is now available. 
$ wget -c http://www.sector7.nu/camp/camp-1.6.3744.tgz

1b. Alternatively download my updated code that works for me.
$ wget -c https://www.dropbox.com/s/510hdr4g3mutb5p/camp-1.5.3589_makkan.tar.gz

2. Unpack the downloaded file.
$ tar xvzf camp-1.5.3589.tar.gz

3. Configure CAMP
$ ./configure

4. Compile and install CAMP
$ ./make && sudo make install

5. Install the skins
$ ./make install-skins 
Note: This installs the skins in ~/.camp/skins but for some reason the individual skin dirs are not executable i.e not possible to cd into. But it can easily be fixed by issuing:
$ chmod ug+x *  
in HOME/.camp/skins/

6. Configure CAMP, start by copying camp.ini from the source code directory to your home .camp/ dir
$ cp camp.ini ~/.camp/camprc
Then edit the camprc according to your preferences e.g location of mpg123, audio output etc.

7. run CAMP!
$ camp

Hey! Why does everything look like crap in Virtual console?


CAMP in console with $TERM Linux and locale sv_SE.ISO-8859-15

CAMP in console with $TERM Linux and locale sv_SE.UTF-8

Well I've found a way to temporarily remedy this. Although I'm still researching better solutions. The one I have right now is to use one of the following settings: 
$ charset G0 cp437
$ charset G1 cp437

If for some reason your console turns out unreadable you can always go back with. Se more in the charset manpages.
$ charset G0 iso01
$ charset G1 iso01


CAMP in console with $TERM Linux, locale sv_SE.UTF-8 and charset cp437
CAMP in console with $TERM Linux, locale sv_SE.UTF-8
and charset cp437

Hey! Why does everything look like crap in PuTTY?


This one's easy. Just set the remote character set to the ISO-8859-X that suits you or type in CP850. It's under Window>Translation

Hey! Why does everything look like crap in PuTTY when I use GNU screen?


This one's easy. Just set the remote character set to the ISO-8859-X that suits you or type in CP850. It's under Window>Translation
And do the following:

set $LANG to C
$ export LANG=C

In screen set c1 to off: 
Press crtl+a+: and type c1 off 

and set UTF8 to off: 
Press crtl+a+: and type utf8 off off

Found these GNU Screen tricks in the amnesia/epic documentation here. 


Hey! Why does everything look like crap in xterm?


Don't know haven't had this problem yet. Hint might be to try something of the above.


Short description of warnings and remedies when trying to compile CAMP: 

warning: incompatible implicit declaration of built-in function ‘strcpy’

warning: incompatible implicit declaration of built-in function ‘strlen’

warning: incompatible implicit declaration of built-in function ‘strncat’

warning: incompatible implicit declaration of built-in function ‘strchr’
Add #include <string.h> to the top of the offending file.


warning: incompatible implicit declaration of built-in function ‘exit’
Add #include <stdlib.h> to the top of the offending file.

warning: incompatible implicit declaration of built-in function ‘printf’
Add #include <stdio.h> to the top of the offending file.


Wednesday, February 27, 2013

Reducing disk writes by putting /var/log in RAM (tmpfs)

**UPDATED 2013-03-01

I've recently grown quite fond of my old Toshiba Satellite* that currently exists in the form of a digital picture frame. I'm still not sure what to do with it but I've started exploring the possibilities of removing xorg completely and focusing solely on a command line interface.

First thing is that I want to make it more robust, i.e. protect the CF-card from excessive disk writes and possible power failure. I could go with a dedicated dist such as Slitaz, Puppy or Tiny Core but I kind of like my own debian system. So I decided to go with reducing disk writes.

I've taken a few steps to reduce disk writes already. But then there is the never ending logging. So I took some of my precious RAM and put /var/log in it. I found some instructions on that here.

To accomplish this I added the following line in /etc/fstab
tmpfs  /var/log  tmpfs  size=4M,defaults,noatime,mode=0755  0  0

So far I'm only using 4 MB but I could probably lower this. I just need to keep it running for a while and see how logrotate works.

To prevent the 4 MB of log space to fill up uncontrollably I've configured logrotate from the default weekly rotation of logs to daily rotation and keeping only 1 day of backlog. I also added a size limit to each log file to 100k. But as far as "man logrotate" tells me this won't affect the logs more than once daily as the logrotate cron job only runs once each day.

As of now I've edited /etc/logrotate.conf accordingly.

# rotate log files daily

daily

# keep 2 days worth of backlogs
rotate 2


**PLEASE NOTE!

The above had little effect on my running system. Turns out many of the logs had separate instructions in:/etc/logrotate.d
Update them accordingly and you should be in business.


* Toshiba Satellite 320CDS
CPU: 233 Mhz Pentium MMX
RAM: 96 MB
HDD: SandDisk Compact Flash 8 GB Extreme IV via Lycom CF 2 IDE Bridge
OS: Debian Gnu/Linux Squeeze

What time is it?

For some reason I can't use PTT Twitter anymore so I started to look around for another console based twitter client. I found TTYtter. However I ran in to problems with the time being way off on my Digital Picture Frame. Probably because I haven't bothered to set it at all.


http://www.linuxselfhelp.com/quick/clock.html
http://wiki-old.unix.se/NTP.html

http://wiki-old.unix.se/Cron.html

Wednesday, January 23, 2013

Programming an Arduino standalone ATmega

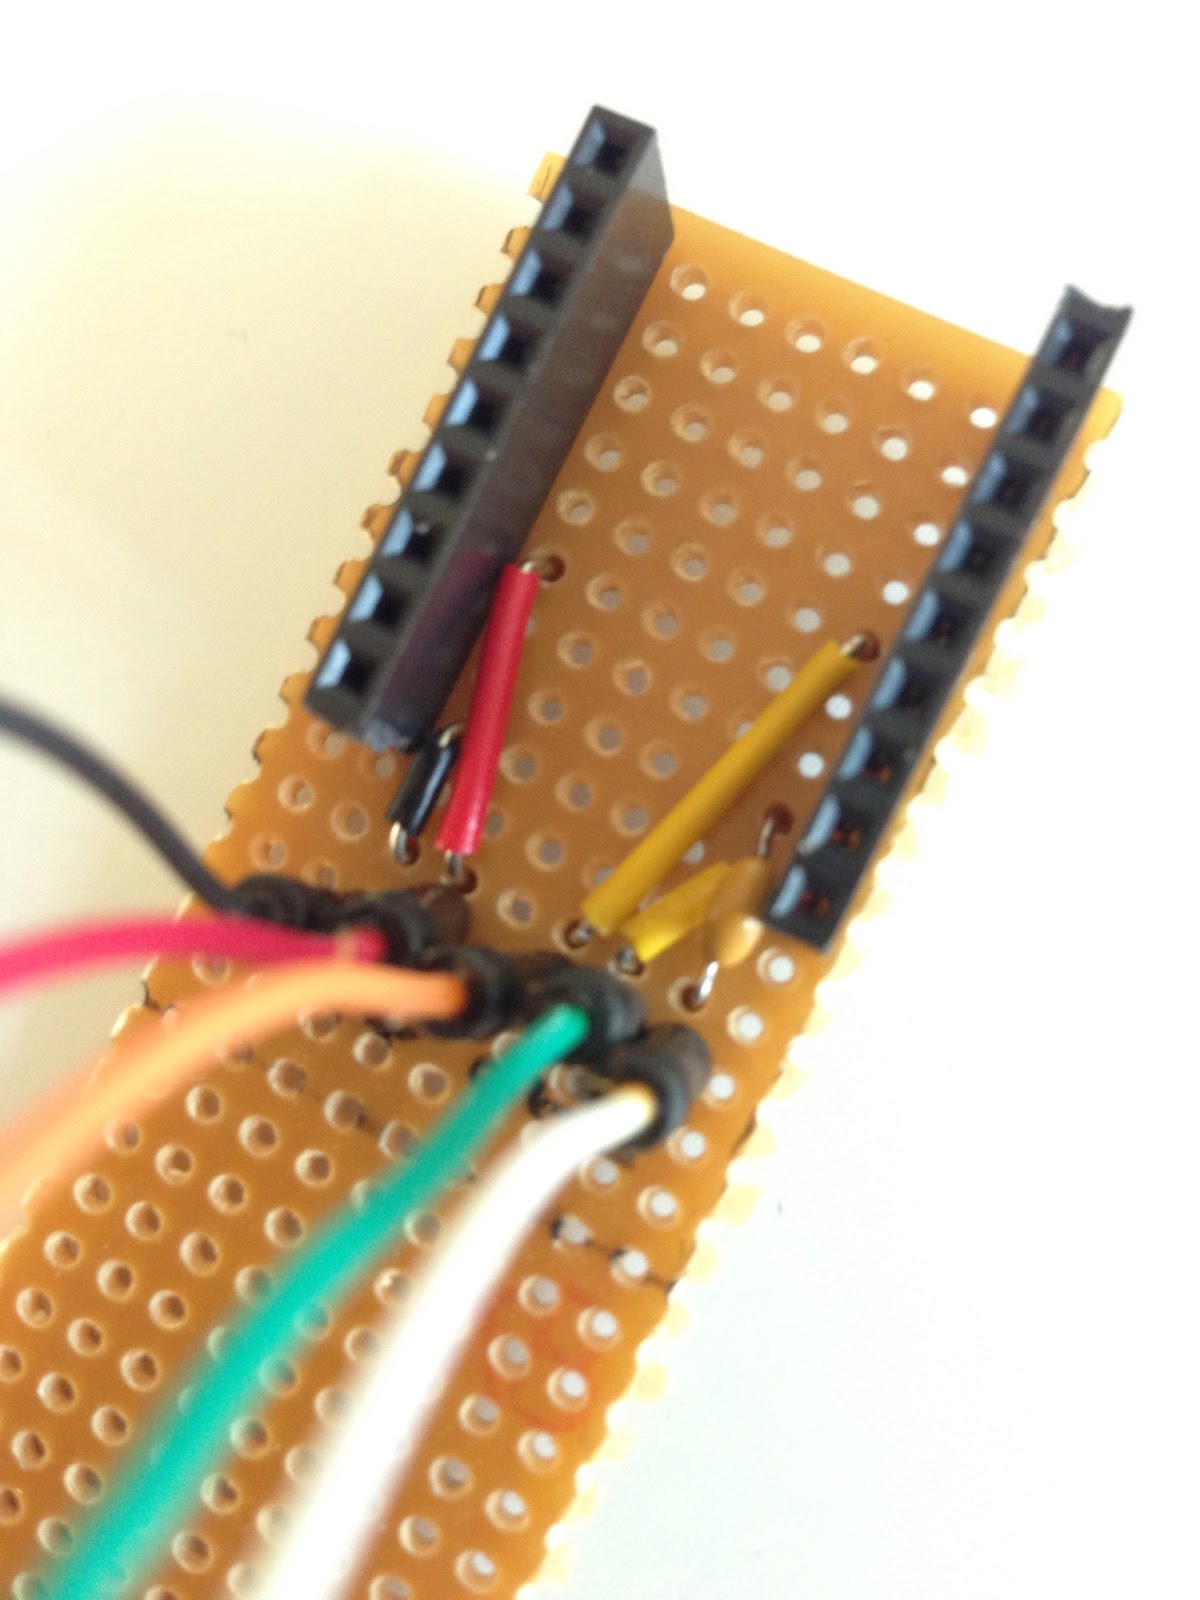
At first I programmed my ATmega328 chips by pulling them from my circuit and placing them in one of my original Arduino boards. Something that is fun once or twice but gets really annyoing when you do it alot. So working from this tutorial I added some female headers to the circuit, dug out my trusty old SparkFun FT232RL breakout board, a 0.1uF capacitor and some jumper cables.


New female headers added to the RST, RX, TX, +V and GND pins.
The circular thing in the upper left corner is a RF Transmitter module. 


The Sparkfun FT232RL break out board. 

I usually placed the FT232RL break out board on a breadboard hooked up jumper cables to the corresponding pins of the ATmega. Recently I built a quick n' dirty jig with headers to hold the break out board and permanently soldered jumper cables.

You can see more pictures and read about the build here
This saves me the use of a breadboard and the tedious task of having to flip the FT232RL over numerous times to check and double check the connections.

Issues: 

avrdude: stk500_getsync(): not in sync: resp=0x1e

In Arduino IDE I used the board "Duemilanove w/ ATmega328" but kept getting the above error message. At this point I hadn't added the 0.1uF capacitor in series with the DTR pin on the FT232RL to the Reset pin on the ATmega328 so when I googled the error code and found this post it was the first thing I added. But things still wouldn't work. Until I changed my board to "Arduino Uno". After that everything worked like a charm.


FTDI shield/jig for stand alone ATmega

Made a Quick n' dirty jig to fit my Sparkfun FT232RL break out board. I found it a tad bit annoying to always having to unplug and flip board to check and double check the connectors when uploading new code to stand alone ATmega projects.

Basically it brings out the VCC, GND, RXD, TXD and DTR (via a 0.1 uF cap) pins to jumper cables. 
I'll probably add some labels later.


One end of the jumper cables permanently soldered to the jig and the other end resting in the perfboard holes.

Under the board is the pretty simple circuit with the oh so important 0.1 uF capacitor that goes between the ATmega reset pin and the FT232RL DTR pin. 


Ready and hooked up to a ATmega328P on a breadboard.

The Sparkfun FT232RL break out board.

Monday, January 21, 2013

Atari Punk Console

So I built an Atari Punk Console. It was... fun! 


Finished Atari Punk Console in a Coleman's Mustard Powder can.


Declaration of contents on the back.


Obligatory video.

I based my circuit on these two schematics. Since I only had 555 chips and not a 556 I started with the first schematic but used the 1M Ohm pots from the last one and everything after the 10 uF capacitor. I guess I just liked the sound of the 1 M Ohm pots better. I also added a powerswitch and a LED to indicate ON/OFF.


Circuit schematic found in josh1324 Instructable here.


Circuit schematic found in Collin Cunningham's Make tutorial here.


Breadboarded Circuit. This one uses 10K pots as these were the only ones I had lying around.


Halfway through mounting the circuit on a perfboard ...


... a low quality perfboard. I had alot of issues with pads coming off, well it could be my soldering technique aswell.


A green LED indicating power is on and a anarchy symbol indicating punk is on. Pretty basic ;)

Saturday, July 7, 2012

A dab of hot glue [UPDATED]


In a rather unsuccessful attempt to interest my two and a half year old in the world of making stuff, I showed her an episode of "Sylvia's super awesome maker show". Instead I learned a neat trick that will solve an issue I haven't yet experienced... well at least it seems like a very good solution to a problem I might have in the future.

Anyway here it is: If you solder for instance, battery wires directly onto a perfboard of some sort. Fixate the connection with a dab of hot glue to ensure that the soldered joint doesn't break due to cable movement.

I added some hot glue to my Arduino Standalone Atmega
but I probably should have done this prior to soldering
some of the nearby components.


It may not look very pretty but it does keep the stress-point
of the cable away from the solder joint.


By the way apparently it's Sylvia's birthday today so congratulations and thank you for the tip!

[UPDATE] 
With my hot glue gun in one hand and a fistful of desire to fixate cables in the other I managed to destroy a potentiometer. I failed to notice a small hole in the potentiometer near the solder tabs and got glue inside the potentiometer, increasing the inertia quite a bit.

Heed my warning and be cautious when glueing!